Posts filed under Test Kitchen

Dinner, planned

Have you ever been overwhelmed by the idea of cooking a (nice) dinner menu? I may very well be alone here (I am not known for my cooking skills. That said, I excel at folding laundry and styling the house :). But if there is a slight chance that you are in those same shoes, I wanted to share with you our experience of planning, cooking and eating one of the most delicious dinners we have ever had.

Right here, at home.

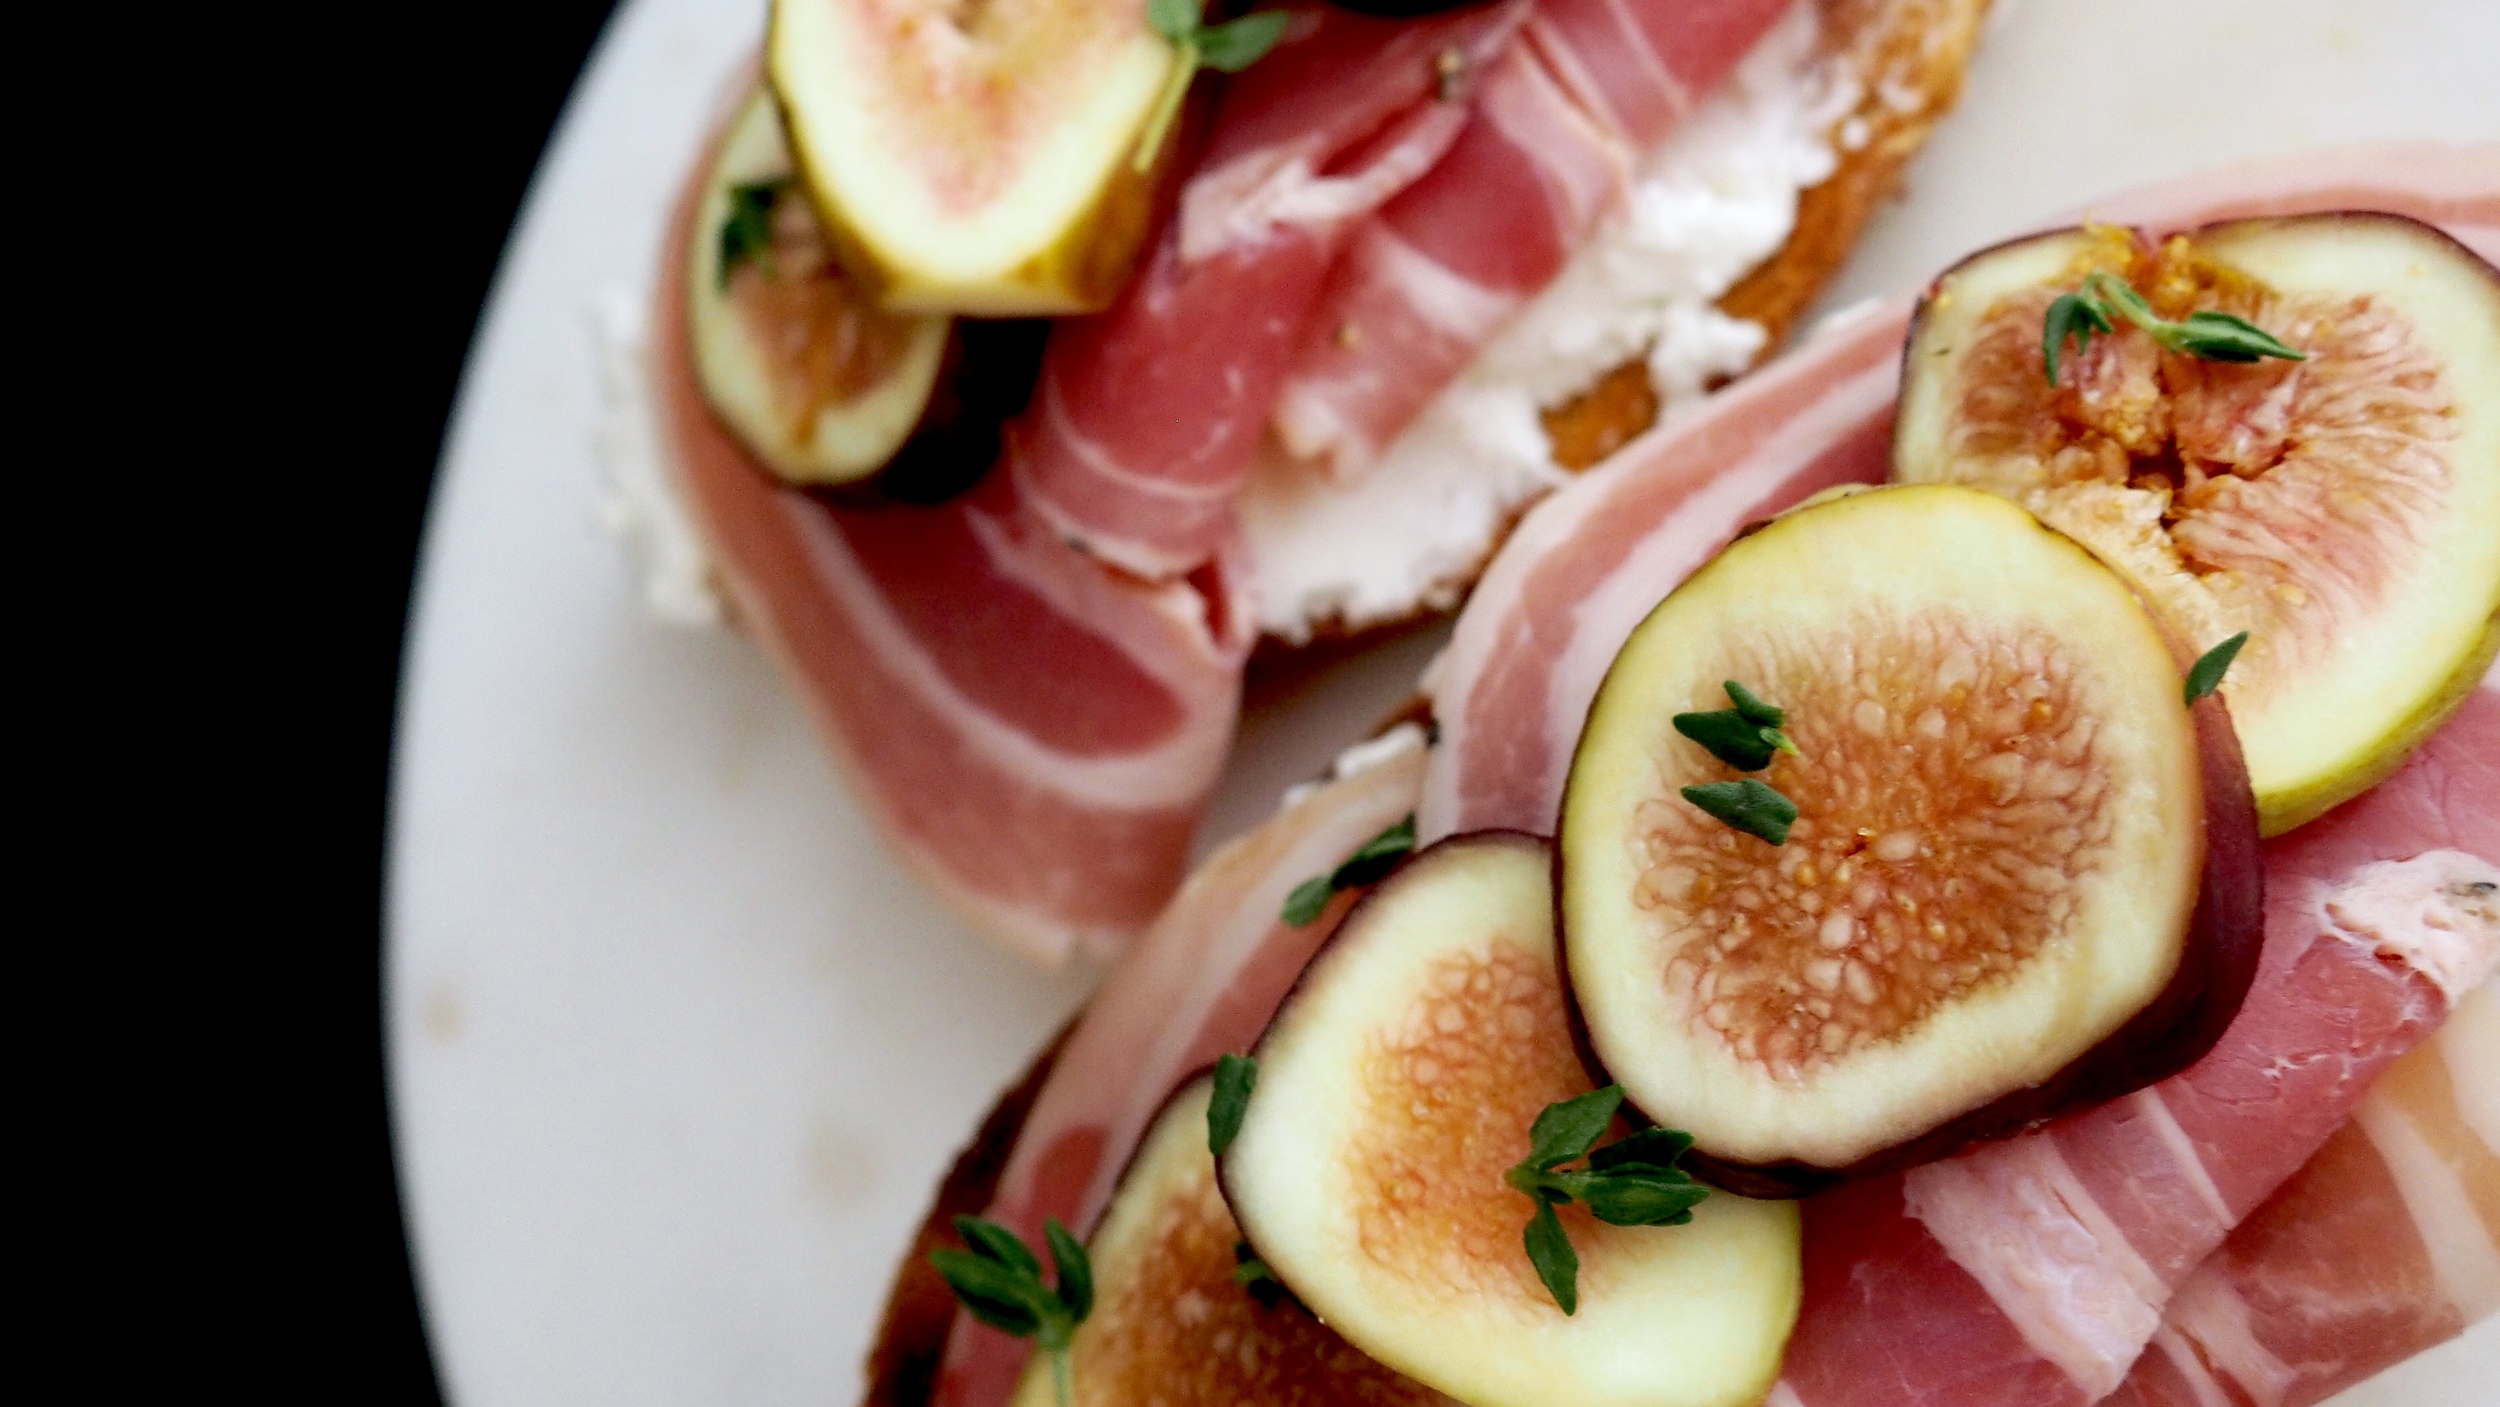
Now, none of these recipes are originally mine... All I can attest to is that each one turned out more delicious than we ever imagined!

The total prep and cooking time for this dinner was about 90 minutes (not a terrible time investment). I actually started off with the dessert since I was able to whip it up and put it in the fridge and be done with it. That way, it was also nicely chilled by the time of serving. 

Next, I started on the soup... while that was cooking, I was working on the one-pot wonder. During the 15-minute wait times of the entree, I quickly threw together the mushrooms. 

And voila! There's the order of events. Oh, and savoring every bite was rather wonderful too.

Cheers!


Cream of Cauliflower Soup

  • 1/4 cup butter, coarsely chopped
  • 2 tbsp olive oil1onion, finely chopped
  • 1 leek (white part only), thinly sliced
  • 3 garlic cloves, finely chopped
  • 2 lbs cauliflower, cut into florets
  • 5 cups chicken stock
  • 2/3 cups milk
  • 2 oz Gruyère, coarsely grated
  • 2 tbsp crème fraîche
  • 1 tbsp Dijon mustard 

Heat butter and oil in a large saucepan over medium heat. Add onion, leek and garlic and stir occasionally until tender (7-10 minutes). Add cauliflower, stir to coat in butter, add stock and simmer until very tender (40-45 minutes). Add milk, bring to the simmer, then purée in a blender until very smooth. Stir in Gruyère, crème fraîche and mustard, season to taste and keep warm. Original recipe here


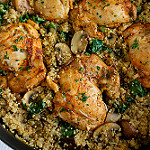
One-Pot Chicken, Quinoa, Mushrooms and Spinach

  • 6 boneless, skinless chicken thighs, trimmed
  • ¾ tsp crushed, dried rosemary
  • ½ tsp smoked paprika
  • ½ tsp salt
  • ½ tsp ground pepper
  • 2 tsp olive oil, divided
  • ½ yellow onion, chopped
  • 8 oz. crimini mushrooms, sliced
  • 1 cup quinoa
  • 2 cups low-fat chicken broth
  • 1 ½ cups sliced spinach leaves
  • Salt and pepper, to taste

Place the chicken thighs in a medium bowl. Add the rosemary, smoked paprika, salt and pepper, and toss to coat the chicken. Heat 1 teaspoon of olive oil in large nonstick skillet set over medium-high heat. Add the chicken and cook for 2 minutes on each side. Transfer the chicken to a plate. Heat the remaining 1 teaspoon of olive oil in the skillet. Add the onion and mushrooms, and cook until the vegetables are tender, 4 to 5 minutes.

Stir the quinoa and broth into the vegetables. Bring to a boil, then cover, reduce heat and simmer for 15 minutes. Nestle the chicken into the quinoa, and cook (covered) until the liquid is absorbed and the chicken is cooked through, about 15 minutes (total of 30 minutes). Transfer the chicken to a plate. Stir the spinach into the quinoa. Serve with the chicken. Season to taste. Original recipe here. 


Garlic Thyme Roasted Mushrooms

  • 12 oz white mushrooms, stems trimmed
  • 3 tablespoons unsalted butter, melted
  • 2 tablespoons olive oil
  • 4 cloves garlic, finely minced
  • 1 tablespoon chopped thyme
  • 1/2 tablespoon garlic powder
  • Pinch of salt, or to taste
  • 3 dashes ground black pepper
  • Pinch of cayenne pepper
  • 1 tablespoon lime juice
  • 2 tablespoons bread crumbs

Preheat oven to 400F.

Heat up a skillet and add the butter, olive oil. Add the garlic, thyme, garlic powder, salt, pepper and lime juice. Saute to combine well before adding the mushrooms. Stir the mushrooms to coat well with the ingredients. Sprinkle the breadcrumbs on top of the mushrooms.

Transfer the skillet to the oven and roast the mushrooms for 12 minutes. Serve immediately. Original recipe here


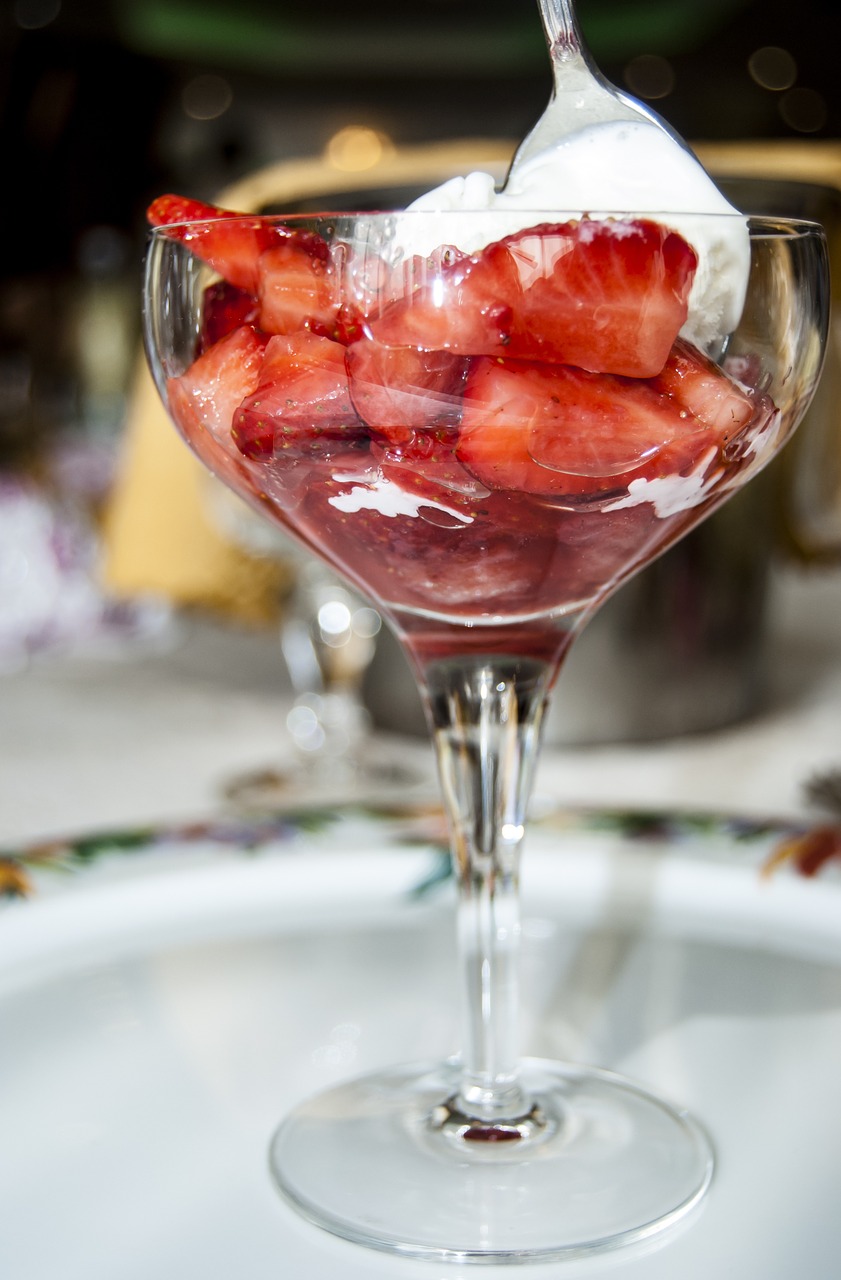
Strawberries Romanoff

  • 12 cup sour cream 
  • 3 tablespoons brown sugar
  • 1 tablespoon cognac or 1 tablespoon vanilla
  • 12 cup heavy cream
  • 3 tablespoons sugar
  • 4 cups fresh strawberries

Mix sour cream, brown sugar and cognac in a bowl. In a separate bowl, whip cream until starts to thicken and add sugar - whip until thick. Fold cream into sour cream mixture and blend well. Serve with fresh strawberries. Original recipe here.


Posted on January 16, 2017 and filed under Test Kitchen.

I'm in trouble...

Fruit tarts are a go-to guilty pleasure around here. I eat them anywhere and in any shape or form - at La Madeleine, at Croissant Brioche, in the frozen isle at Trader Joe's... you name it. And goodness, am I in trouble... I found the easiest homemade fruit tart recipe ever! These take about 10-15 minutes to make (with a microwave, nonetheless!) and are delicious and remarkably dangerous! Here's what you'll need to get addicted as well...

Ingredients:

1 pack of frozen mini tart shells

2-3/4 cups milk 

⅔ cup sugar

¼ cup cornstarch

⅛ teaspoon salt

4 egg yolks

2 tablespoons butter

1 teaspoon vanilla extract

Directions

Add milk, sugar, cornstarch, salt, and egg yolks, (in that order) to blender. Blend 5 seconds and pour into 2-quart glass microwave-safe bowl. Microwave 6 minutes on HIGH, whisking until smooth after 3 minutes, then every minute thereafter.

Add butter and vanilla and whisk until smooth.

Assembly

Fill each baked tart shell (per the instructions provided) with cream filling. Top with fruit of your choice. Use any jelly you have and brush to dab some shininess on each piece of fruit. It's OK if some drips onto the cream.

Let cool a bit and enjoy!!

Recipe courtesy of Salad in a Jar!

Cheers! :)

Posted on March 16, 2016 and filed under Test Kitchen.

The easiest way to impress your Valentine...

It's simple. Just make these super easy AND absolutely addicting cake balls and watch his (her (for my 2% male readers):) face when he (she) tries them. Especially if he (she) has a sweet tooth....

What you will need: Red Velvet Cake Mix (and the ingredients it calls for - usually eggs, vegetable oil and water), 8oz cream cheese, and a package of white chocolate candy melts

The directions couldn't be simpler: bake your cake, let it cool, crumble and mix with cream cheese. Use your hands or spoons to form the balls, stick on a pretty stick and place in the freezer for at least 30 minutes. After freezing, melt the candy melts per the instructions provided and dip each ball in. Cool in the refrigerator for another 20 minutes.

Some tips to keep in mind: 

1. How to melt your candy melts... make sure you know how to use a double boiler. I didn't. I probably still don't. But I figured it out-ish eventually. The key is that if you get even a drip of water in your melts, they are gone. Done. No coming back (unless you have shortening - and who has shortening just laying around these days? :) Luckily, I saw this coming and I had bought two packs of melts. The second time around, I used better suited containers for the exercise. 

2. Where to place your cake balls once they have been dipped... plan ahead! The right answer for this will depend on what size sticks you picked. But you will need to be smart about where you place each top-heavy ball. I had to use a coffee cup that was shallow and narrow enough. But I only had one of those. Which meant I had to patiently wait between each ball for the chocolate to cool and harden. It was almost as fascinating as watching paint dry :). 

3. How many of these to eat... yeah. Guilty here. I ate more of these than the person who they were meant for. So, you better practice your self control. Because they are pretty AMAZING. I used any excuse to destroy all the "not-so-perfect" cake balls. Needless to say, I had a "few" of those.

If you want to read about making those tags, you can do so here.

Happy Valentine's Day, everyone!

Posted on February 13, 2016 and filed under Test Kitchen.

Oh, thy whoopie pie!

Let me start by saying this... Getting the perfect bite for a picture is way harder than you think! This particular one took a good three whoopie pies to get to ;). 

Now, onto this delicious recipe I found on Pinterest a while back. If you like chocolate (and who doesn't) and peanut butter (and who doesn't), there is a very good chance you will LOVE these whoopie pies. For the record, I added only one thing to the original recipe. I think some lemon zest as garnish is key to making these pies not overwhelmingly sweet. And they look pretty awesome with that pop of yellow, don't you think?

Directions for the cakes

Preheat oven to 350 degrees. Spray baking sheet or whoopie pie pan. In a large mixing bowl mix together butter, sugar, baking powder, baking soda, salt and vanilla. Once mixed, add in the egg and continue beating until all smooth.

Add Dutch process cocoa and continue mixing. Add flour and milk and continue beating until smooth. Make sure it's completely mixed and soft.

Drop the cake dough by 1/4 cupfuls onto baking sheet or fill up whoopie pie pan. If using a baking pan, leave 1 inch between cakes as they will grow.

Bake 11 to 13 minutes until firm. Remove from oven and let cool. Spread peanut butter filling on one pie, while using another pie to press it down. Enjoy immediately or wrap in plastic wrap to store.

Directions for the buttercream

Beat melted butter and peanut butter in a bowl until mixed. Gradually mix in sugar and once thick, add milk in. Continue beating for about 2 minutes until buttercream is spreadable and fluffy.

Ingredients for the cakes

  • 1/2 cup butter - melted
  • 1 cup brown sugar
  • 1 teaspoon baking powder
  • 1/2 teaspoon baking soda
  • 3/4 teaspoon salt
  • 1 teaspoon vanilla
  • 1 egg
  • 1/2 cup Dutch process cocoa
  • 2 1/3 cups flour
  • 1 cup milk
  • Lemon zest

Ingredients for the peanut butter buttercream

  • 1/2 cup butter - melted
  • 1 cup creamy Peanut Butter
  • 2 tablespoons milk
  • 2 cups powdered confectioners sugar

Makes 5-6 whoopie pies

Posted on September 13, 2015 and filed under Test Kitchen.

Summer Snacks / Fig, Goat Cheese and Prosciutto Sandwich

Despite my efforts to ignore it, summer is in full swing in Houston. But the discomfort of excruciatingly high temperatures (hello, 100 degrees!) and soaking humidity shall not bring my spirits down. Why? Because it's fig season! And you may be thinking... hm?

See,  some of my fondest memories from childhood involve picking (possibly/borderline stealing) figs from my grandmother's fig trees for hours upon hours (or rather until there is not a single fig left on the trees). Did I mention I wouldn't even let them ripen? Ah, yes, my impatience has been known since then.

And imagine my delight when I realized that there is a similar "free" fig resource in my very own neighborhood! How can one not be inspired to look up easy fig snack recipes? So I figured I'd share one of my latest trials. And I have to say, the results are delicious! You won't need much to make this sandwich happen: country bread bowl, goat chèvre cheese, prosciutto, a few sliced figs and a touch of rosemary. Truly, delicious. Make sure to try it out!

Posted on July 18, 2015 and filed under Test Kitchen.