Posts filed under Design + DIY

From drab to fab... in three days.

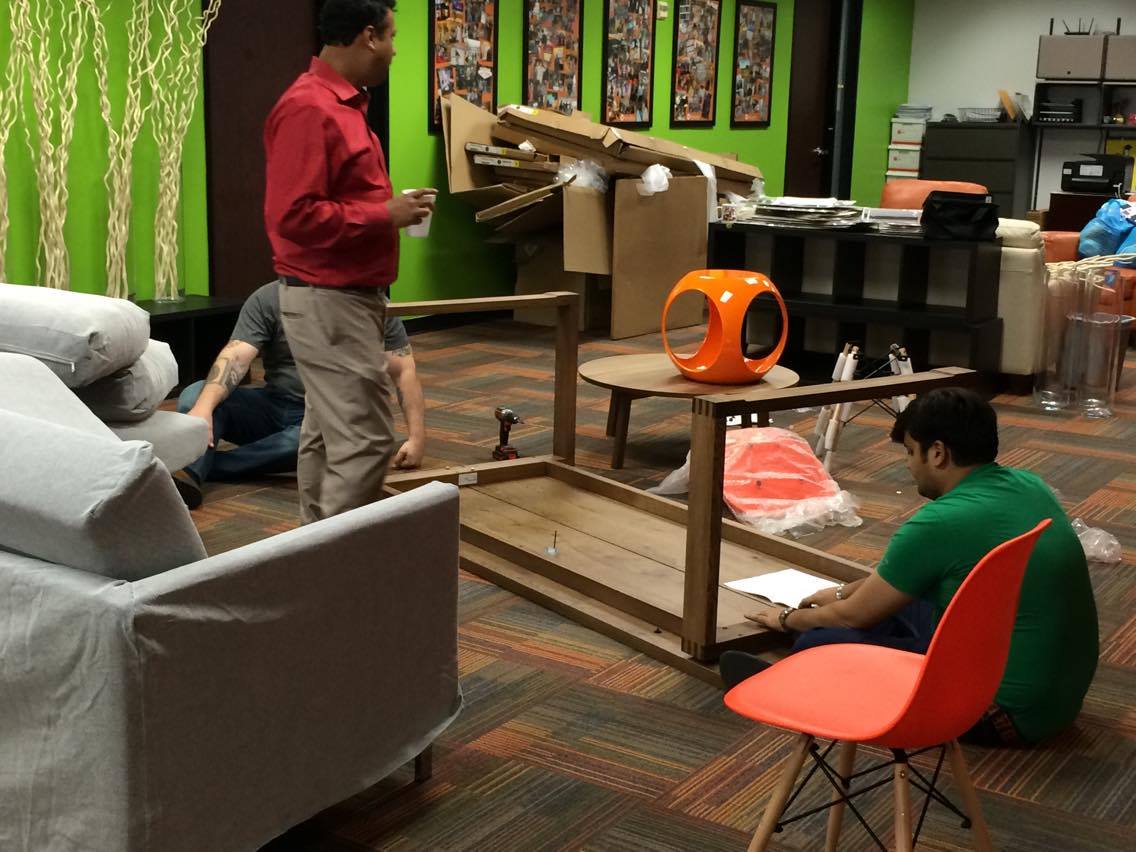
So this past week, a most interesting and challenging project landed on my desk. I was asked to take one empty and somewhat snoozy office common area (evidence below) and make it look like a space worthy of Google (or Facebook, or Apple, or insert-any-tech-giant-name-here). In other words, it had to be funky, playful, youthful, chill, cool, hipster and, of course, on-budget. The floor and walls were here to stay. Oh, and I had to design, purchase, assemble and decorate the whole thing... IN THREE DAYS.

So this is where we started... a rather busy floor, somewhat eccentric and electrifying wall colors (thanks to the company's logo) and about a thousand white wooden sticks. The company also didn't have any idea what to use this space for... 

So we started with the function. After some conversations back and forth to understand the company's needs and culture, we decided to split the space into three areas: two work areas and one lounge area. 

The intent was to show off their laid back style but still communicate how much hard work happens in between those walls. 

The next challenge was to minimize how busy the floor and bright walls were (the givens) and pick furniture pieces that complemented and worked with these constraints rather than fight them. Below are the design plans I shared with the client:

LOUNGE area

WORK area

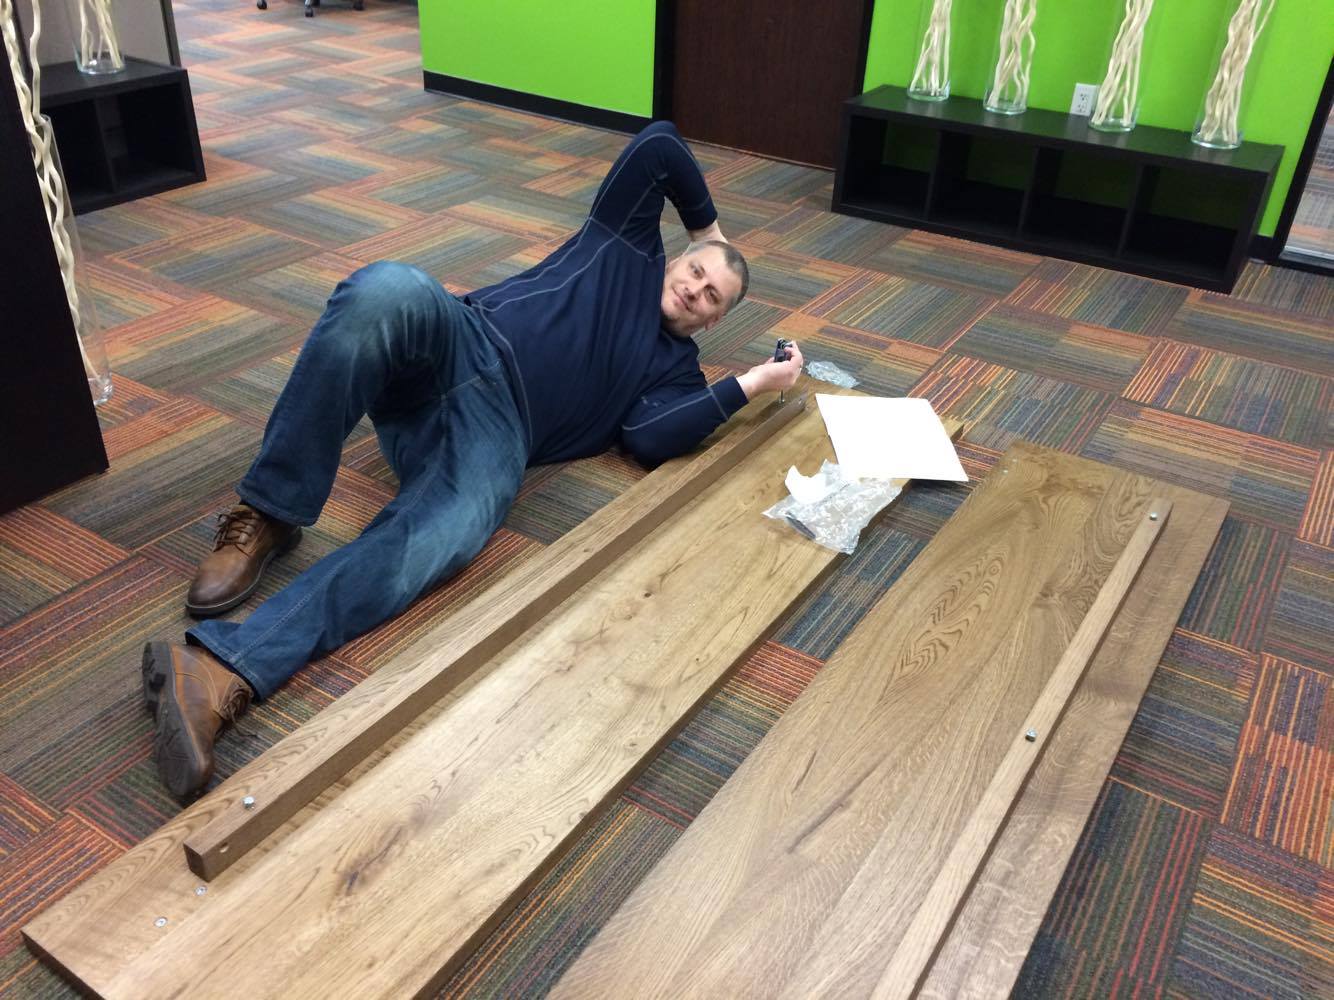
Miraculously, they loved everything! I believe that is not something a lot of designers get to hear. I think I just got lucky to work with some awesome people (who, for some reason trusted me :) and we really didn't have much time for disagreement. We technically didn't have much time for anything.

Besides, I think they secretly had a ton of fun doing this...

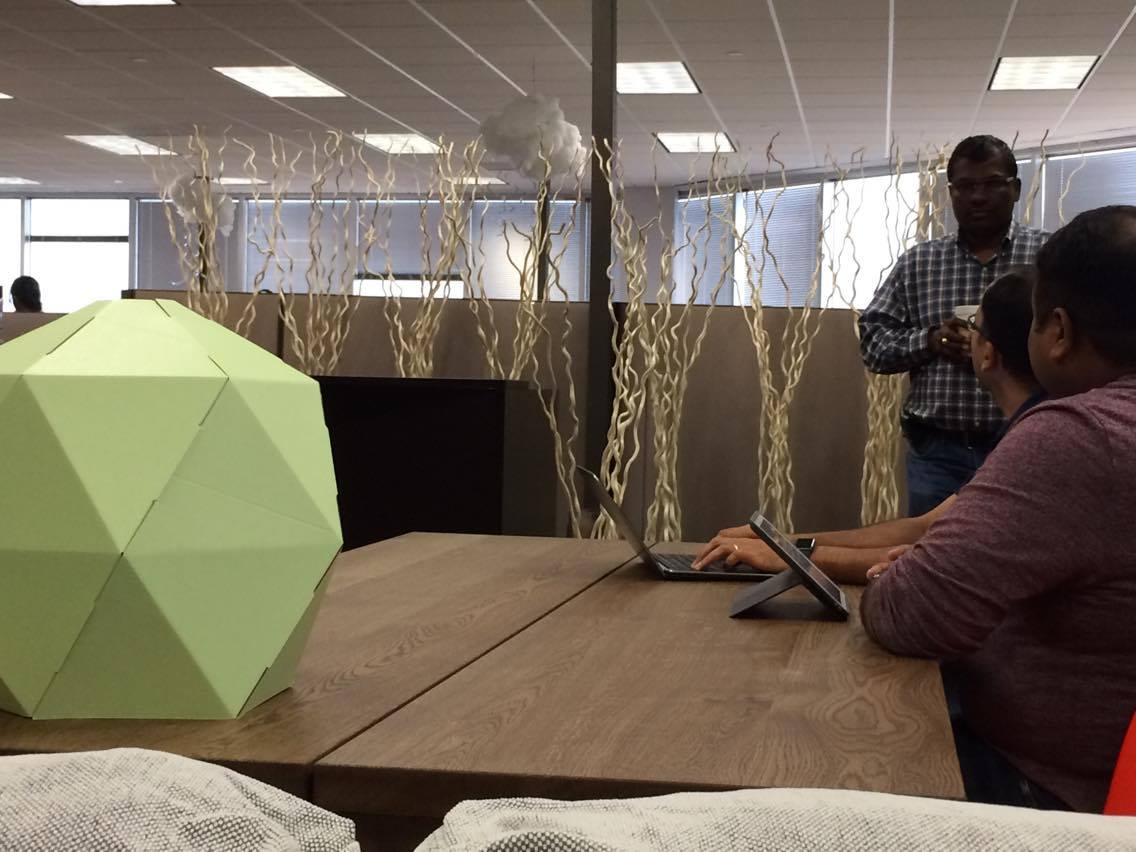
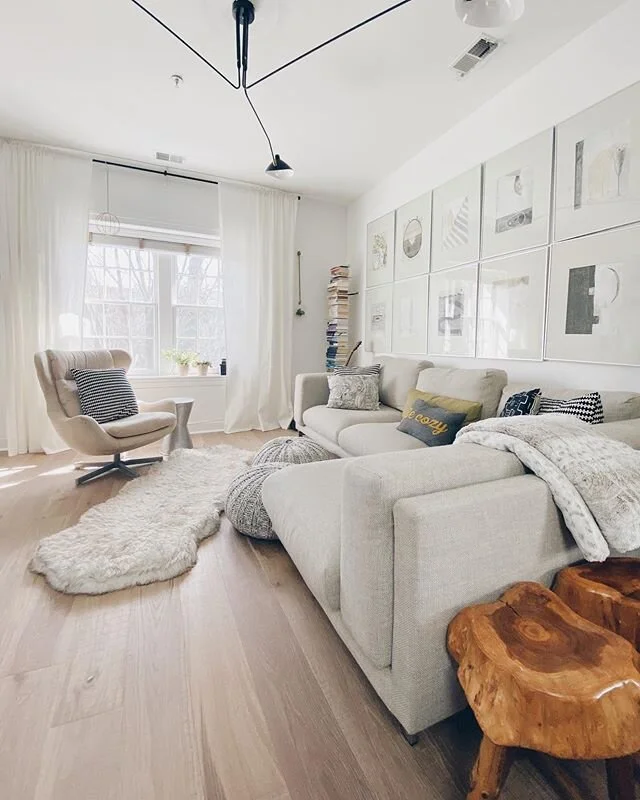
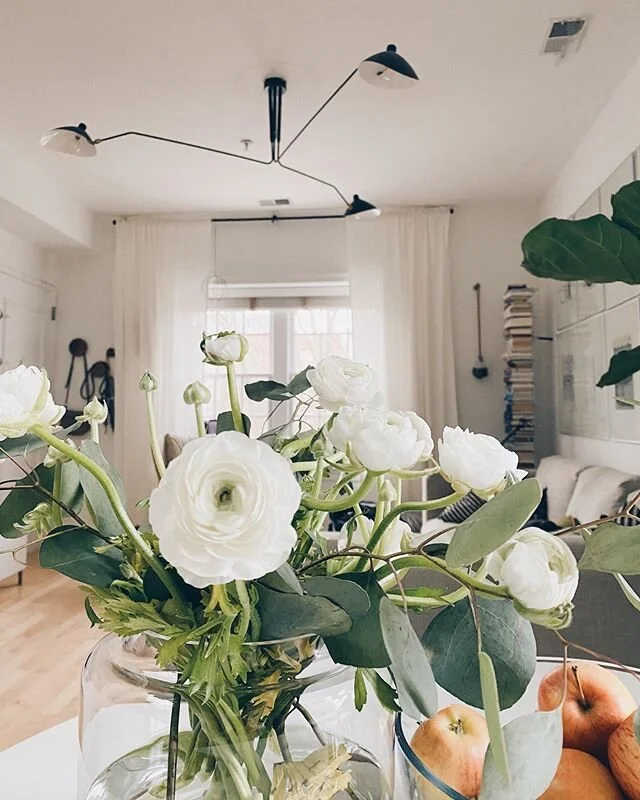
And here is the final result! 

See those awesome lanterns? These beauties were by far the biggest hit of the design. They made a powerful statement while providing much-needed volume to balance all the bottom-heavy furniture. They are also coincidentally the perfect color scheme.

I only had to make sure I had an idea of what I wanted the composition to look like before I purchase them. So I quickly mocked something up (always a good idea):

And I might add that even though I mocked things up, I still did things differently, ha. But a sketch like this gave me a starting point and something to show the client re: what I have in mind.

A few other things worth mentioning... sourcing everything for this project had certain limitations to it in order to make this incredible deadline. Namely, everything either had to be Amazon Prime, IKEA, or shippable overnight. So, that was fun! :)

Secondly, the amazing chalk wall that you see? That was already there, looking glorious in its gigantic scale. I felt it was my job to show it off even more. 

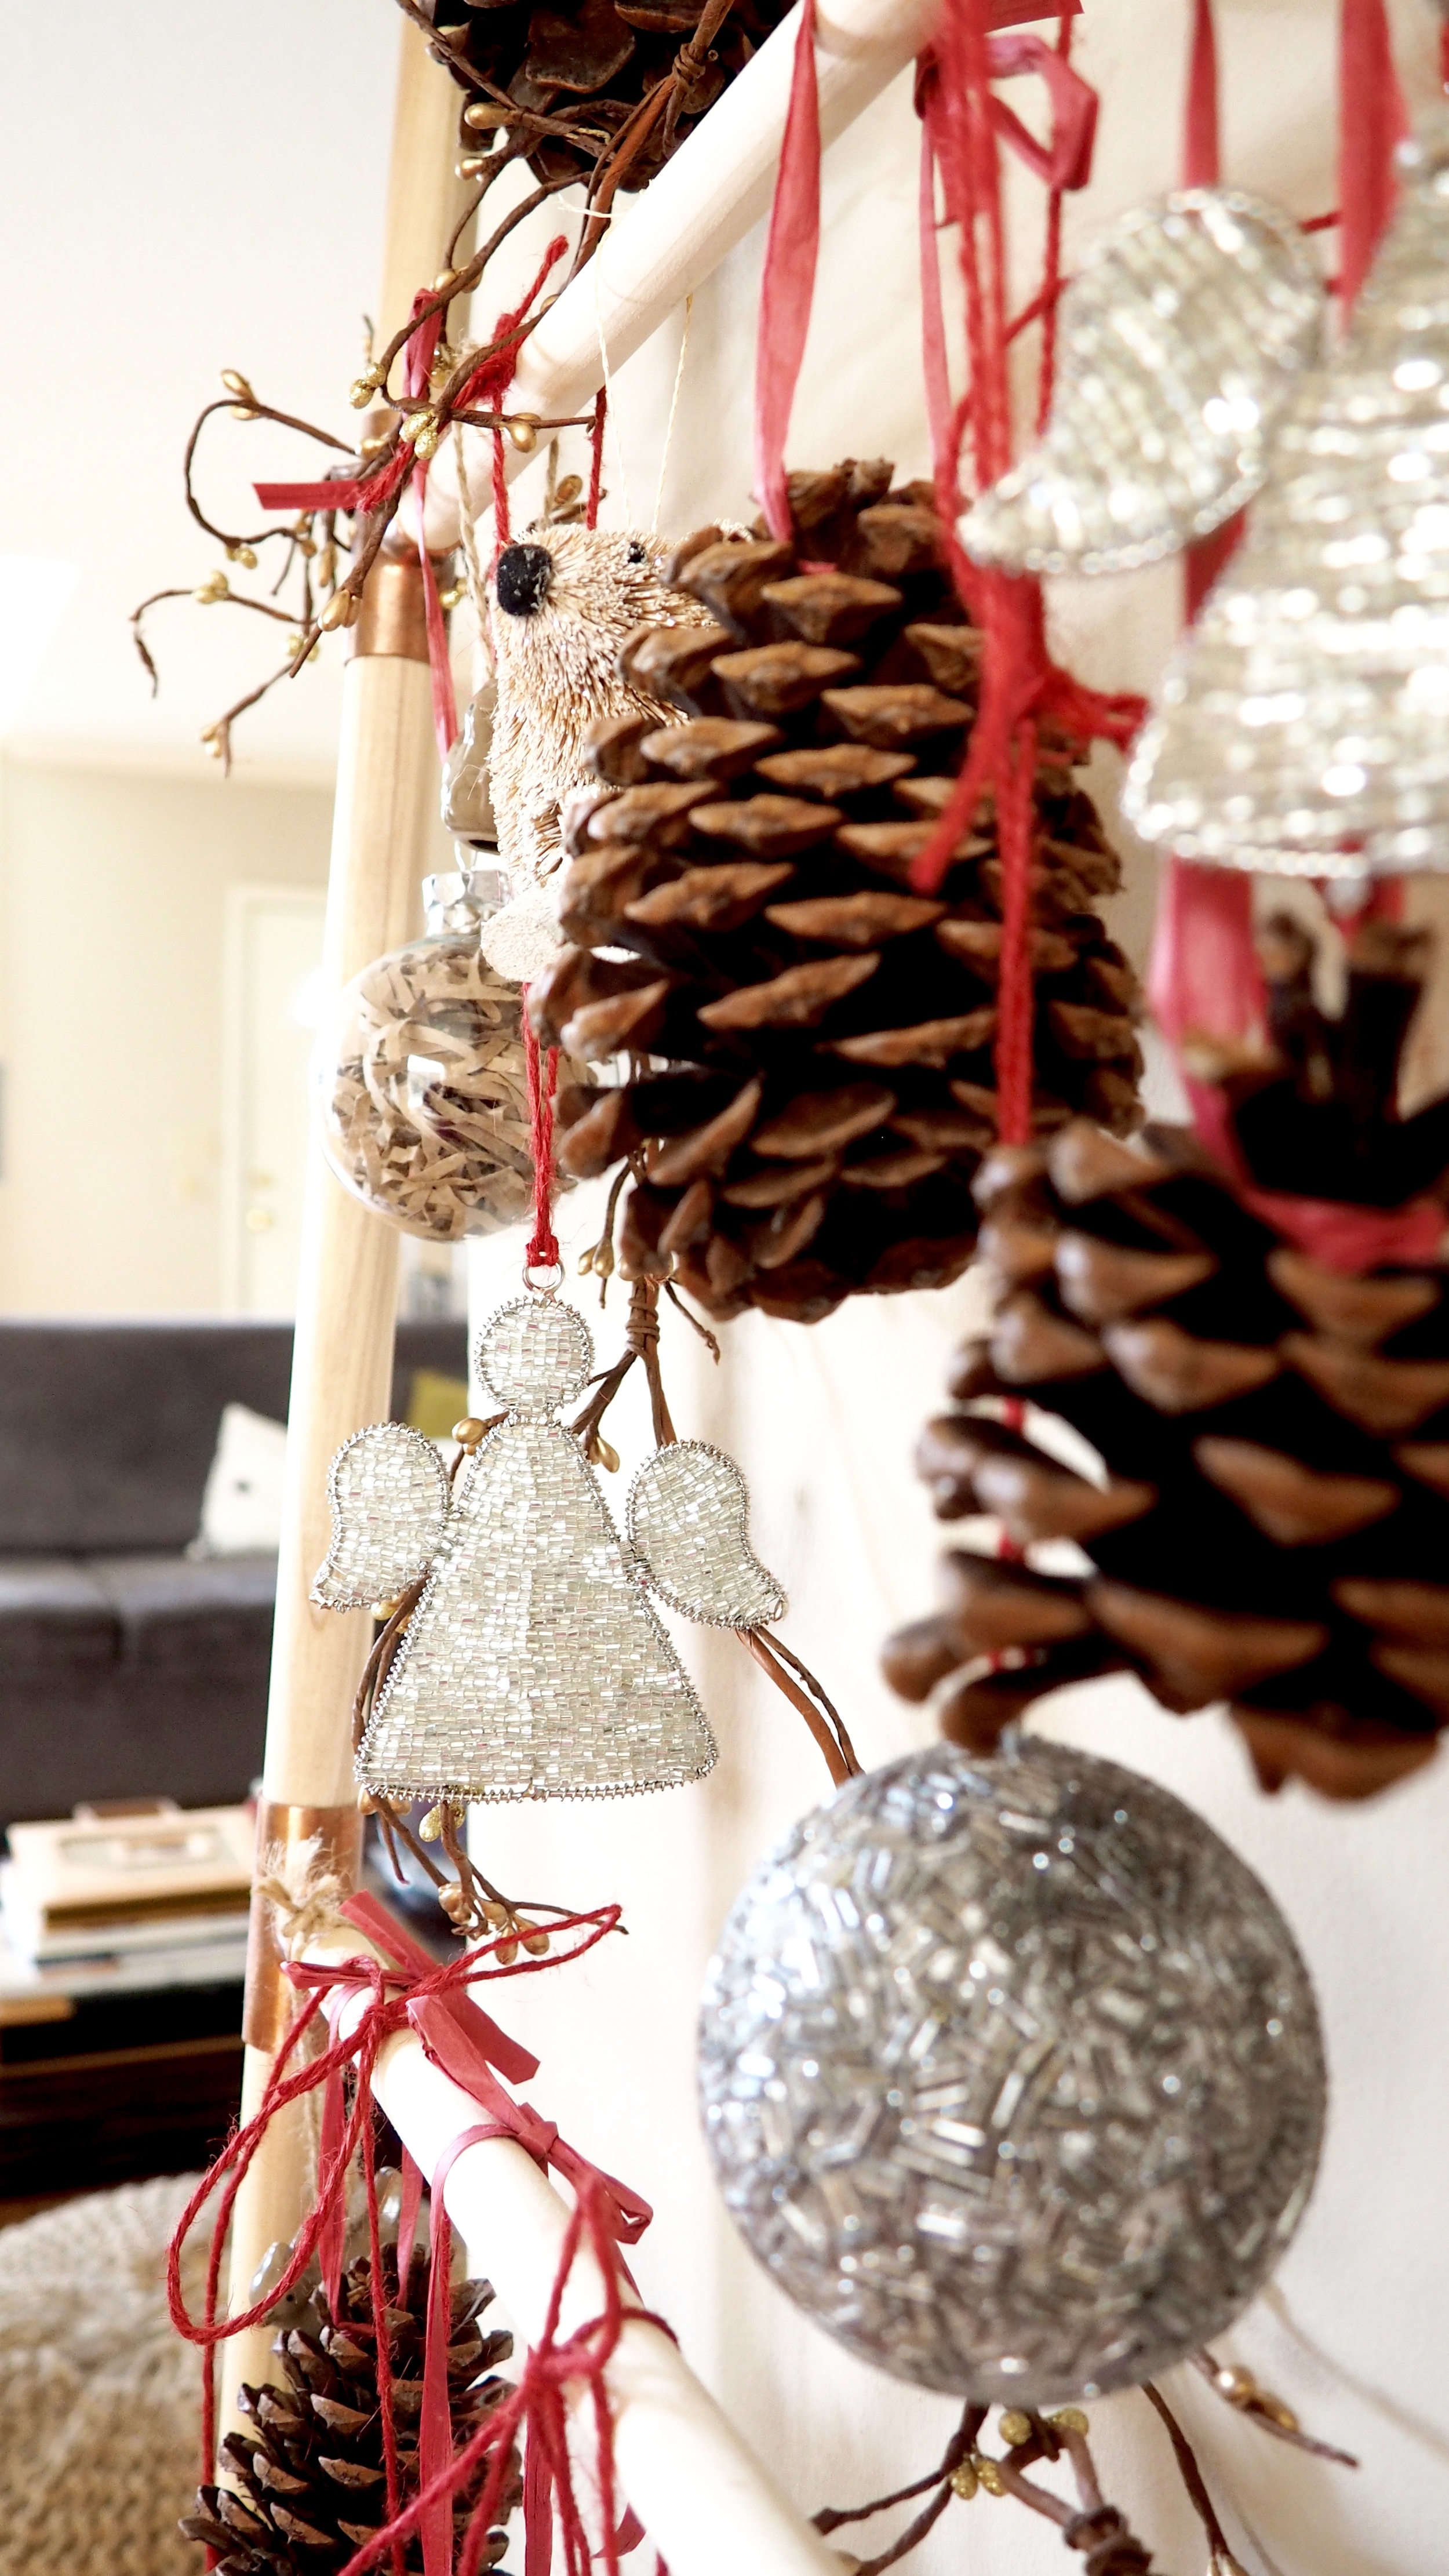
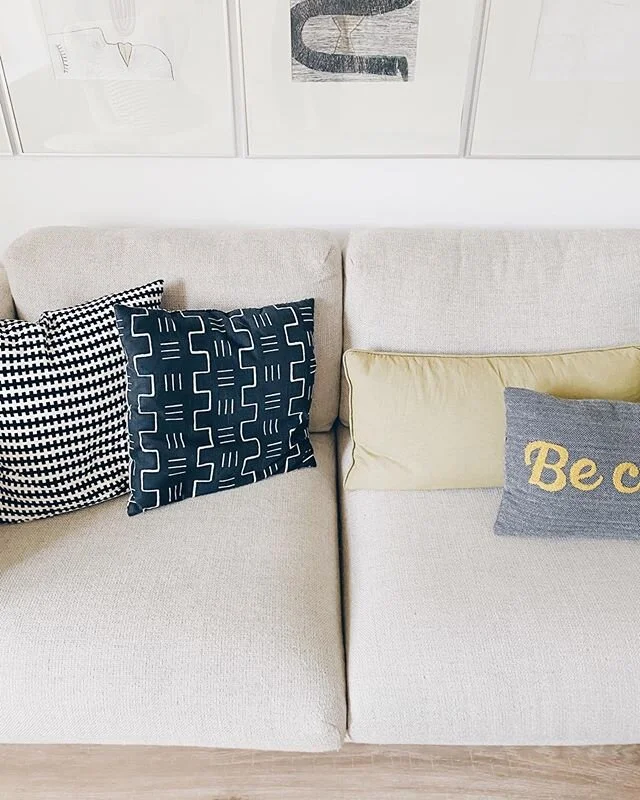
Lastly, this is a tech company. Hedgehog pillows wouldn't fly anywhere. But this client had plenty of charm and playfulness to be able to pull this off.


S O U R C E   L I S T   (aka, get the look)

1. couch  2. coffee table  3. side tables  4. pillows  5. egg chairs (yet to be received)  6. office table  7. office chairs  8. glass jars  9. lanterns (blue, green, orange). 


All in all, this high energy project certainly had my adrenaline (and therefore dopamine) levels on a high for a few days. The first day I said yes to helping out, I felt like I had bitten more than I could chew. But once I got involved and immersed, I felt like I was right where I belonged. It feels so good to be doing what you love...

Anyways, happy Monday and stay dry, Houston!


Posted on April 18, 2016 and filed under Design + DIY.

Revival of the patio (v.3.0)!

Chewie agrees. Spring is an awesome, albeit short, time in Houston. So we are taking advantage of every second of it! After staring at my dull winterized patio for three days this week (bye, bye wisdom teeth, I will not miss you), I mustered enough inspiration and energy to do something about it this weekend...

Ta-daah! Introducing patio version 3.0! (For 1.0 and 2.0, look no further). What is new, you ask? 

  • A few (alright, alright... more than a few) new planters: I'm so excited about all of these! They make such lovely home for my favorite plants (which I was able to miraculously procure in one day): Kangaroo Paws! Blue Chalksticks! Sedum Tokyo Sun! Just an eye feast of colors and textures. In love...
  • Added foliage: the largest section of my yard was sad. Sad enough that I didn't even take a "before" picture for you. No longer the case! Unexpectedly, the ginger I planted a few years ago in front of my sliding door has been loving it there. So I decided to add a bunch more on the other side as well. I cannot wait to see it grow. And this one is one fast grower! You just wait, before you know it, I'll have a jungle back there.
  • Much needed maintenance: e.g. pruning, weeding, fertilizing, soiling, watering... you name it. All done in two days. I must have raked 50lbs of leafs. Knowing how light they are, that should tell you have many of them there were!
  • The obligatory photo session with Chewie... I mean, look at that face! He got to spend two days in the open watching me work. Does it get better than that? I don't think so... #doglife

You could say it has been one productive weekend. Now, I can proudly say that absolutely EVERYTHING hurts, from my teeth, all the way to my toes. But this much pain for this much gain is so so worth it!

Happy Sunday!

Posted on February 28, 2016 and filed under Design + DIY.

Christmas tags in dusty rose, white and all that glitters!

My favorite Saturday mornings are the ones when you have absolutely no agenda on your mind and you set yourself up for true relaxation and recovery from the grueling week. That is, until you randomly (not) wander the halls of Michael's and you get about a thousand ideas of what to do with said Saturday morning. Indeed, rest ambitions failed me once again. But, hey, I now have some sweet Christmas present tags to show you!  

I absolutely love how these turned out! And it all started with a simple glitter set that I saw at the store plus some tags that happened to be on sale. A bit of white ink and gold twine later, and voila! I think I might keep some of these for my tree next year... 

Here is what you will need to recreate these very Christmas-y (oh very well, somewhat Christmas-y) dusty pink and mother of pearl tags:

  • Glitter set (similar found here)
  • Glue
  • Brown tags (mine were the last few but a similar set can be found here)
  • White pen (I couldn't rave enough about this pen - well worth the $1.99)
  • Gold twine
  • Some Pinterest inspiration

With 12 days left until Christmas (who's counting?), we have only one more Christmas-themed week left! And I can't seem to be able to make up my mind what to dedicate it to... Gift wrapping? Food? Traditions? Ahh, I guess I have a week to figure it out :).

Happy Sunday!!

Posted on December 13, 2015 and filed under Design + DIY.

New hobby alert... (plus T-2 weeks until vacation!)

A few months ago, one of my favorite friends invited me to join her at a calligraphy class for her birthday. Little did either of us know that this tiny act of awesomeness on her part would result in my latest hobby/obsession. Enter... the theme of all of 2015's holiday gift-giving and entertaining: a personalized note/card/packaging/placecard/ornament/anything-you-can-think-of with Katya's calligraphy and your name on it. Genius! 

Today, I present you with four similar but kind of different calligraphic options for placing your guests at your holiday table. All said and done, it came down to two general options for my table: either a card with my guest's name in calligraphy on it, or an ornament my guests can take home with their name in calligraphy on it (riveting difference, no?). I think I like both but I especially like the idea of the ornament because it can become a wonderful keepsake that will remind your family of you for years to come (as if they needed further reminding... :).

Here was my craft supplies list:

  • Glass Christmas ornaments (you can get similar ones here). 
  • Metallic calligraphy markers (similar ones found here).
  • Gold twine (mine is from TJ Maxx but here is a similar one). 
  • Leftover card stock.
  • Leftover winter greens.
  • "Mad" lettering skills (make sure you sign up for Kristara's wonderful class that started it all :) 

And now that I know how I'll decorate the table, I should probably get back to the basics (such as Christmas shopping).  I am ashamed to admit that I haven't even started that yet. And we are getting dangerously close to Christmas. These two weeks ahead will probably prove to be maddeningly busy. And oh-so-joyful! :) 

Speaking of which, time to get moving. Happy Sunday and have a great week, everyone!

Posted on December 6, 2015 and filed under Design + DIY.

Back to being productive! A wreath DIY!

Happy belated Thanksgiving! Great news, everyone! This blogger survived the holiday without severely overeating! Oh, fine, this is a lie. I did overeat alright. But Jessica's sweet potatoes are too good to say no to. And, to ease my conscious (and bloated belly), I already went for a run and did an hour of yoga as soon as I landed. So there, I have been relatively good :).

Failed diets aside, we are finally getting back into a groove here... I present to you, the second Christmas-themed DIY in two weeks! Also known as, Christmas wreath 2.0

I guess you might think that yellow does not exactly scream Christmas but, hey, these craspedia billy balls could definitely pass for tiny christmas ornaments, so there, there's method to the madness :). Besides, they are so darn playful! And they work so nicely with all the other textures of the wreath, don't you think?

So... what will you need to make one of these for your home? Technically, a mere trip to the grocery store. Case in point, I got inspired to make this wreath while I was at my local Whole Foods to stock my rather empty fridge today. There, I saw the white wax flower and the craspedia billy balls (aka the yellow adora-balls) and thought that these would look quite fine on my two grapevine wreaths I bought three weeks ago and did nothing with. And this is how projects are born... :). 

After acquiring all materials, the only thing you'd be left to do is put in some elbow grease to cut each stem and insert it into the wreath.  And by elbow grease, I am severely overstating. Because this entire project took me a mere 20 minutes to do. Talk about good bang for your time-investment-buck!

Happy Sunday and good luck going back to work on Monday!!


PS: I cannot completely overlook Thanksgiving so here's a laundry list of some of the things I am rather thankful for but rarely have the chance to share:

  • I got to see my nephew sing the Star Wars theme song this weekend 
  • My nephew actually likes me :) Like, a lot :) (he is only 2 after all, love is hard to earn at that age!)
  • I get to see my family in less than a month and maybe go skiing (fingers crossed, snow-pending!)
  • And everyone is (relatively) healthy and (very) happy. 

 Yup, life is good. And it doesn't take all that much to be this happy :). This will be a great Monday indeed. 


Posted on November 29, 2015 and filed under Design + DIY.

I know, I know... Christmas is still more than a month away...

But if the radio can play Christmas music already, I am allowed to have Christmas posts, right? :)

So, what's in store today? First, an apology... It has been two weeks with no posts and I guess I could offer a great (made-up) excuse for this. But I cannot. I just had a few very great very busy weeks. The good news is that being busy at work and life does pay off after all! Here is a rare Katya brag-episode for you: my proudest career moment of my life (so far) came courtesy of the 2015 Lantern Awards. My team (well, our website) won the big 2015 award for websites! I was never much of a sucker for awards (which should have helped me be very much chill about this one) but heading to a podium in front of hundreds of spectators and your leadership to accept an award is far more nerve-wracking than anticipated. I have a whole new level of empathy for Jennifer Lawrence. DO NOT TRIP was pretty much the only thing I could think of.

But, enough (bragging) about work (I AM SO FREAKING PROUD OF MY TEAM!!!) and onto more appropriate topics for a personal blog...

Oh, hey Christmas! I had forgotten about you (said no Christmas lover ever). This year, Christmas decor takes a bit of a different meaning for me... Mainly because I will be out of the country for most of the holidays. And it just felt like decking out a whole tree for an absentee home owner is rather overdoing it. So what is one to do when they still crave for some festive decor?

Deck out something else, of course! Enter, the ladder-turned-Christmas-tree DIY tutorial! Promise, it's a simple one...

First, start with building your ladder (an even simpler tutorial can be found here). Next? Deck said ladder with as many ornaments as it can safely take. Try to be somewhat intentional with colors/textures/finishes and voila! You got yourself a very neat conversation starter. Most people's reaction is... Hm? A Christmas ladder? And in my mind, I am rather thinking... "You are welcome, world!" The only thing that hadn't been Christmatized before is now officially here! And what's not to cheer about that?? 

Inspiration via Pinterest. Execution via several Tj Maxx shopping sprees. :)

Happy Monday and... so glad to be back! :)

Posted on November 23, 2015 and filed under Design + DIY.

Funky in the Daylight, Spooky in the Twilight

Happy (Belated) Halloween! I am proud to say that two days later, my house seems to finally be back to its normal state of cleanliness. Because this "party animal" just threw her very first Halloween Party and the results were spooktacular (if I may say so myself!). But let's start from the beginning...

First? The daytime decor... I had been in the Halloween spirit for a while, mostly thanks to the subtle festive decor that didn't make my house look like a haunted house for a month prior to the actual party. The trick here is the word subtle. Nothing stood out as particularly Halloween-y... I started with a bunch of glass skulls throughout the house (courtesy of the Dollar Store, nonetheless), and a ton of tiny human skeletons and not-so-tiny bird skeletons. The day of, I added a few zombie decals (which are ridiculously frightening, especially when your peripheral vision is not that great) and a few obligatory hanging death sculptures.

Next? The nighttime transformation... by graciously adding food, music, and a ton of people. A few of my highlights here...

  • My friends are creative... they arranged my stick figures into a zombie apocalypse dynamic sculpture. Absolutely priceless.
  • A Bloody Mary bar is the most genius idea I have ever had that is also doable within 2 hours of a party. You will only need olives, celery, great Bloody Mary mix, slightly-above-average vodka, freshly cut lemon, and a ton of salt and pepper. 
  • Cheese, cheese, cheese and twice as many crackers is by far the most popular snack. 
  • Dry ice pumpkin beer chiller! Holy cow! That was the coolest thing I have ever seen. Courtesy of my other creative friends.
  • Dry ice in a water bowl. Close second-coolest thing I have ever seen. This is addictive!

And what's a Halloween party without a costume? Superhero theme, here I come! Without really trying. Because I was happily surprised to realize that runners own a ton of black spandex. Add one lace mask for $7.99 and a pair of self-made cat ears and voila! Catwoman reincarnated...   

Oh, hey there! You probably also noticed my co-hostess with the mostest's incredible costume! She was Harley Quinn! And her make-up was swoon-worthy...

So there you have it! I survived my first hosting gig and lived to tell the tale! I have to say that this was a ton of fun. Perhaps we have a tradition in the making? Happy Monday!!

PS: You could say it got a little tight in my 1,395 square feet...(Images courtesy of several unauthorized iPhone cameras :). 

Posted on November 2, 2015 and filed under Design + DIY.